Transform Any Room – Door Trim Upgrade
Do you ever get tired of seeing the same door trim and window trim in every room of your home?
Builders love to use the same casing and baseboards throughout the house. The door trim in the living room is the same as the door trim in closets. The window trim in the kitchen is probably the same as the window trim in the master bedroom. And those two rooms don’t have much in common!
So before you repaint, why not switch things up by upgrading your door and window casing?!
This is a great DIY project! It’s not difficult and can give you a big bang for your buck.
Remove the original trim
This is where most people hesitate. They’re not sure they can remove trim without damaging walls, doors, floors, windows etc. It’s a little scary but it’s much simpler than it looks. Door and window trim is usually installed with trim nails. Remove the moldings first and then remove any trim nails left in your walls or in the moldings you’ve just taken out.
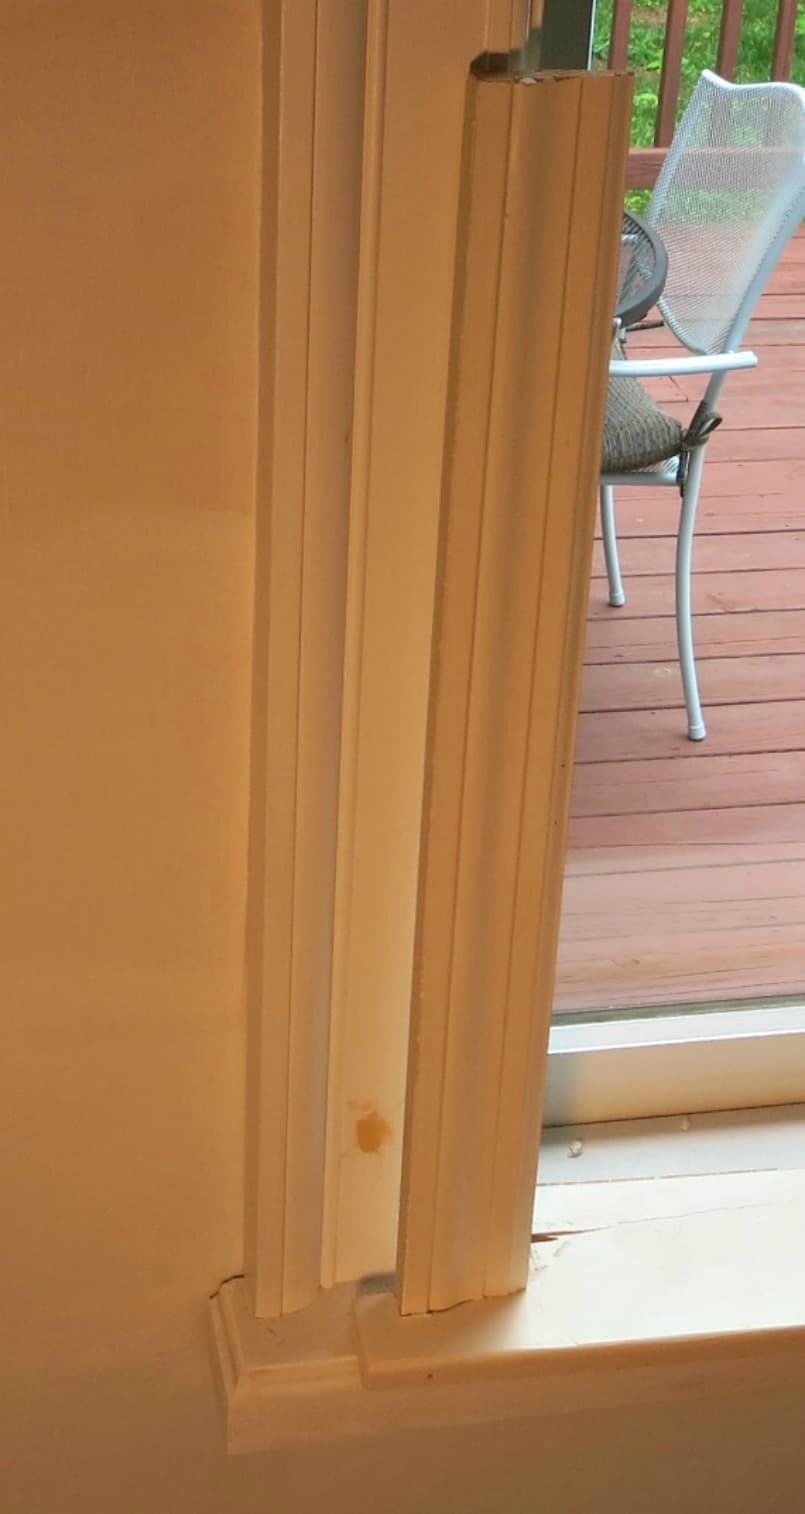
The most common type of builder-level trim measures between 2-1/2″ and 3-1/2″ wide by 11/16″ thick. In the image below you can see the proportions of the original window trim compared with the bigger upgraded trim.
How To Choose The Right Door Trim
When you think about how to install door casings, there are two basic considerations: the profile and the material it’s made from.
The trim is an integral part of the character of a room. That character comes from the size, the detailing and the material. Let’s review some of these selections. We intuitively know something about the right choice for size and detail.
- We associate wide, thick and detailed moldings with classical and formal spaces.
- Smaller simple moldings are best suited for less formal spaces.
- And moldings that don’t have any rounded or stepped details can give a Craftsman style appeal or a much more contemporary look.
How to choose the right material
Before you choose the profile, you should choose the material that your molding will be made from. There’s no point falling in love with a polystyrene door casing and then learn it’s only available in unfinished wood!
Polystyrene
Polystyrene is one of the least expensive choices. It cuts like wood, is very light weight and paints out very nicely. Because the material is so light, a good construction adhesive and just a few fasteners will be enough to hold it in place. This means less painting prep in filling nail holes.
Polystyrene can get dinged more easily than MDF or solid wood. So, it might not be the most suitable material for a busy kitchen doorway.
MDF
MDF moldings also paint out beautifully. Medium density fiberboard doesn’t hold up to moisture. So, it’s not suited to bathrooms or kitchens unless both of them are well ventilated.
If you decide to install it in an area that’s tiled, take care not to leave moisture on the floor after mopping. The MDF will soak up that moisture and expand.
You can help it survive the damp. Prime all surfaces: the back, the front and also the cut ends. That will help slow down the moisture getting into the fibers.
Wood
Wood moldings will be either primed or unprimed. The primed material is intended to save you a step when painting. But examine the primed material before you buy. If you plan on using a semi-gloss paint, the surface has to be very smooth. The primed surface might not be smooth enough.
Sanding away the primer is time consuming. You may be better off with unprimed material.
Wood moldings are made of pine, fir, poplar or a stain grade hardwood such as oak. The first three are suitable for painting. If it’s poplar, plan to do some sanding after you apply a primer because the primer will raise the grain slightly.
Stained trim will need more prep work. And cuts need to be more precise because you want to avoid having to use wood fillers. Save some time by doing as much prep before you install the door trim.
How to choose the right trim profile
Use samples
Before you make the final decision on what profile you want, buy some samples. Buy enough to make up a mitered corner. That will help you to envision all the dimensions and details.
Check the width
If you are going to install a wider door casing, there’s another consideration. You should pay some special attention if the door or window is installed close to a corner of the room.
If your current molding is 3-1/2″ wide and there’s a 1/2″ gap between the back of the casing and the inside corner of the sheetrock, you know you can only fit a 4″ wide casing. So, confirm that you have enough space between the door jamb and the corner for the molding to fit.
Tip: If your new trim is wider than the original molding, you won’t have to paint your walls or ceilings!
Door trim installation tips
Measuring lengths
If you were able to salvage the original moldings, they can be used as perfect templates for the length of the new moldings. That will save you tons of time.
Dust Protection
There’s going to be some dust. With some preparation, the construction dust can be kept to a minimum.
Reinforce miter joints
If you are installing a wide casing, reinforce the joint by using a biscuit joiner. This method keeps the two moldings aligned in the same plane. That can be difficult if you just nail the moldings onto the sheetrock surface. And, if you don’t happen to have a biscuit joiner, drive a trim head screw in the corners.
Casings & Insulation
Believe it or not, changing out your moldings is a perfect opportunity to eliminate drafts!
Casings hide gaps between the door or window jamb and the stud that makes up the framed opening.
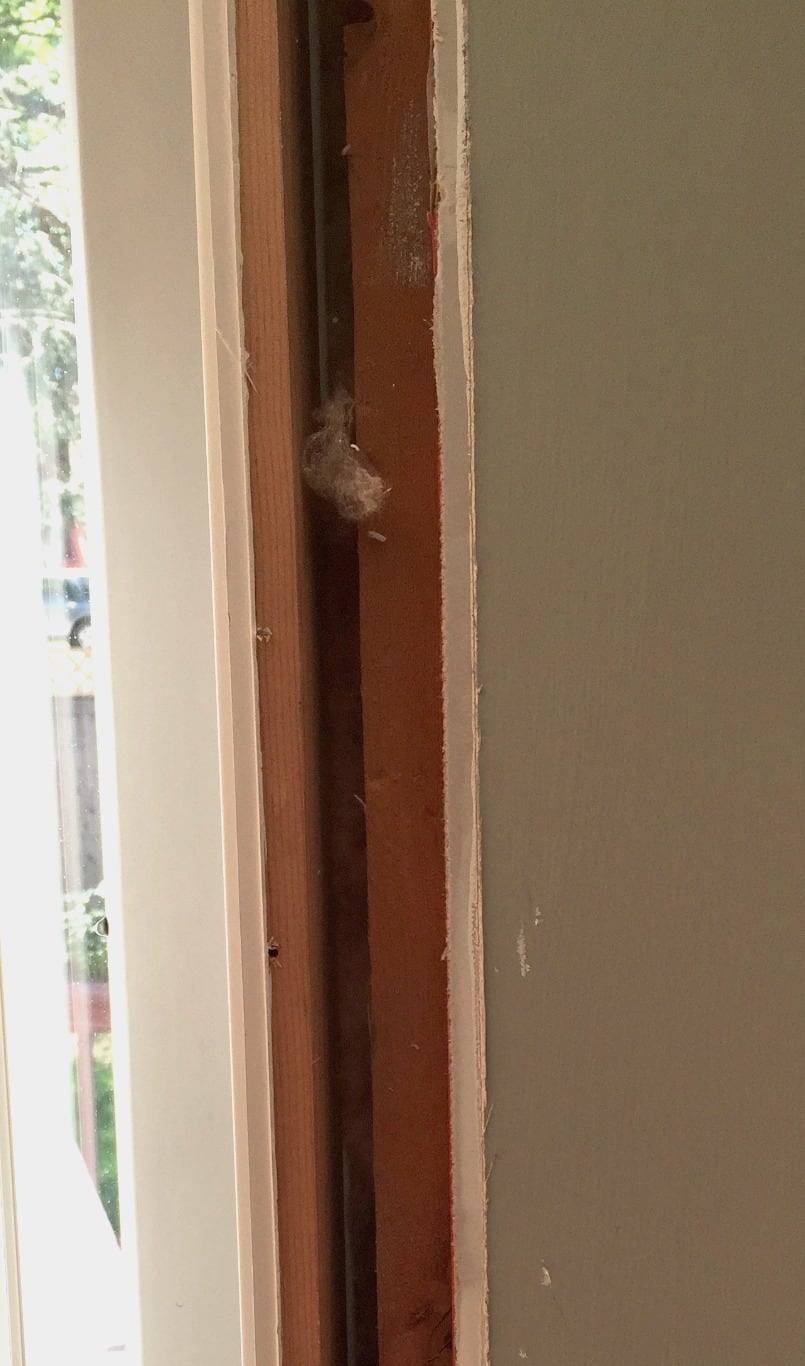
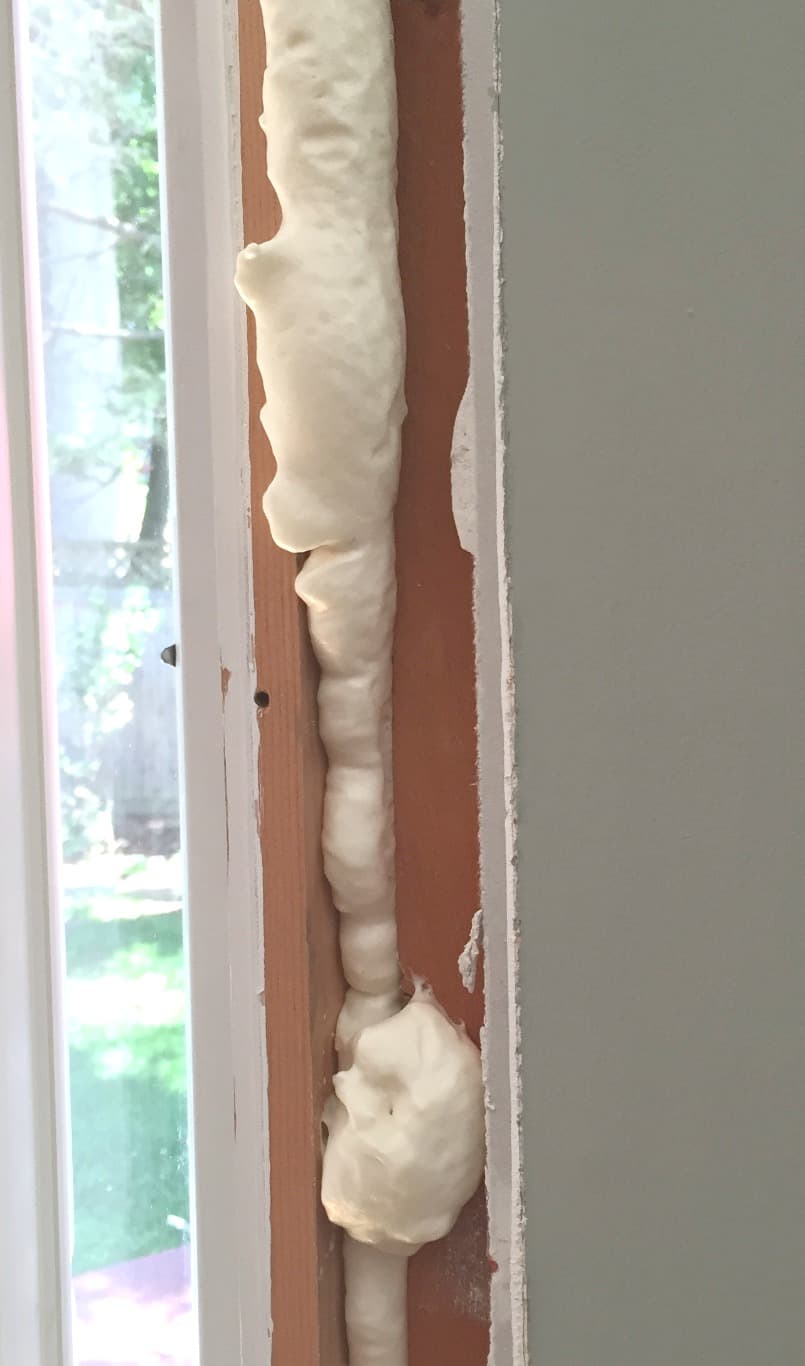
Before you install your new door or window trim, take a few minutes to fill that gap. Use expanding foam spray. It works wonders for eliminating those elusive drafts!
And if you’re also replacing baseboard on an outside wall you can get rid of some drafts there too. Run a bead of expanding foam or caulk along the bottom of the wall between the bottom of the sheetrock and the flooring.
After the expanding foam dries, use your utility knife to cut it back flush. Then install your casing to cover the foam and enjoy the warmer room!
Here’s a great post that will give you step-by-step instructions details about how to cut and install trim.
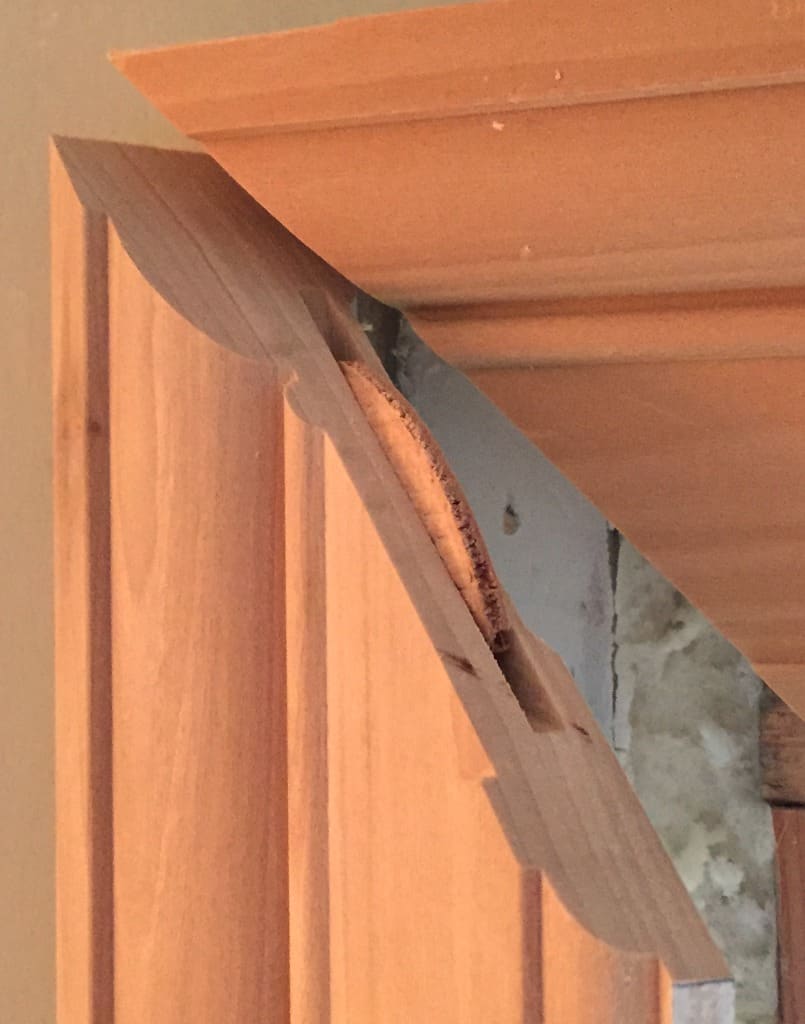
Backband hack
If you’d love to improve on your door or window trim but don’t want to take off your current moldings, backband molding may be the perfect answer. You will need to cut back your baseboard where it meets the door trim.
Tools
There are one or two specialty tools you’ll find very handy for this project.
Miter spring pliers and miter clamps

![]()
Trim head screws with square head