
How To Cut Straight Lines With Circular Saw
Have you ever wondered how to cut a straight line with a circular saw? Do you want to effortlessly cut straight lines your circular saw every single time?
There’ll come a time when you will need to cut long straight pieces off a sheet of MDF or plywood. If you already have a table saw you know it can be an easy task – once you wrestle the board onto the table that is. But what do you do if you don’t have a table saw? Or maybe you need to rip narrow strips off a full sheet. That’s almost impossible to do safely on a table saw when you’re working by yourself.
And we’ve all had the experience of setting up a sheet of plywood on our saw horses to rip a length off. We measure and mark the cut to be made. And then have to hunt around for something straight enough to use as a straightedge.
Trim carpenters routinely cut straight lines using just their circular saw plus a jig. You can too. This is the best circular saw jig for ripping lumber. And it’s easy to make. It’ll save you lots of time and I’ll bet it’ll become an indispensable tool for you whenever you need to make long straight cuts.
Standard Cut Using a Straight Edge
The most common method is to use a straight edge as a circular saw guide. Usually it’s nailed or clamped to the workpiece.
But it can be difficult to place the straightedge perfectly so that it’s set up for the saw to cut right on the line. You’ll have to make a short test cut or two. This will allow you to make minor adjustments to the placement of the straight edge. It’s often enough just to tap the straightedge with a hammer.
That method works well enough. But it wastes time. And when you need to cut several pieces, setting up the straightedge can be the most time-consuming part of the work.
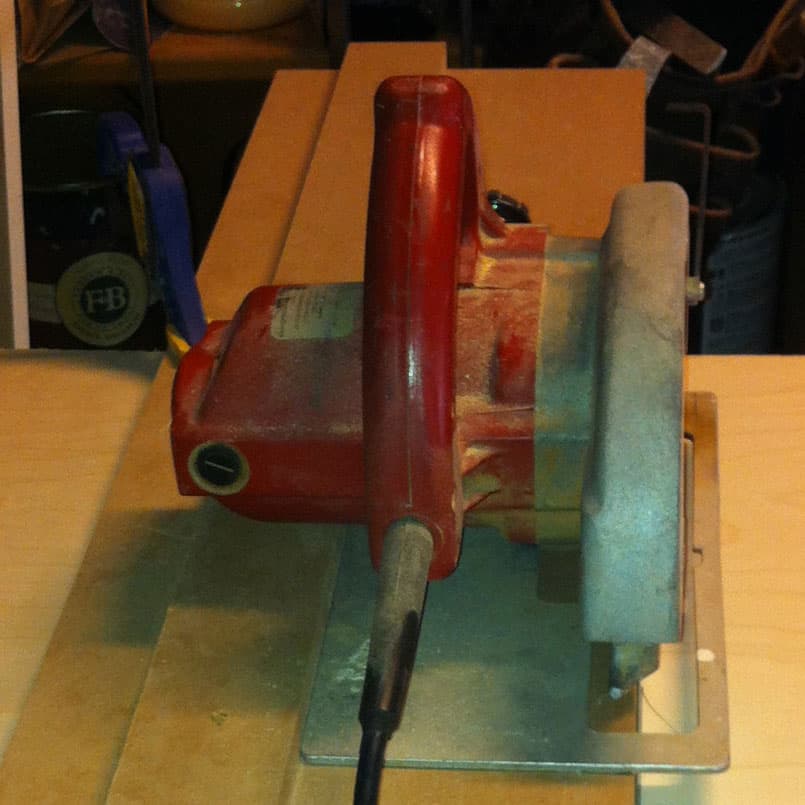
Pro Tip: Until you do get around to making the jig, here’s a tip to save yourself some time. Write down the distance from saw-blade to edge of the saw-shoe right on the saw. Use a non-erasing marker.
How To Make The Foolproof Jig
It won’t take you more than 30 minutes to make. You’ll be cutting perfect lines with this straight edge jig in no time.
Making the jig
The jig is made from two pieces of material.
- A narrow piece of top is ripped from the factory edge of a new sheet of MDF. (Plywood works just as well and is lighter.)
- Fasten that narrow piece onto a wider piece of MDF.
Let’s say that the distance from the edge of your circular saw shoe to the blade is 4″.
In that case you’d set the factory edge of the narrow piece back from the edge more than 4″. - Next, place a skill saw shoe up against the factory edge of the narrow piece of MDF.
- Then cut the jig base letting that straight MDF edge guide you as you cut the jig to the perfect size for your saw.
- Now the MDF factory edge is going to be perfectly parallel to the edge you’ve just cut.
Additional Tips
- You can also use thinner material for the base piece.
- This will allow you to make deeper cuts because the blade won’t be 3/4″ above the surface of the material.
- The jig in the image is made of MDF. But you can use any material that comes with a factory edge. Just keep in mind that pretty much any material will be lighter than MDF.
")
How To Use The Jig
Once you have made the jig, you can use it over and over again especially when you’re ripping along the long edge of boards or sheet goods.
From now on, you can lay this jig right on your cut line when you need to make a cut.
You don’t need to mark the board, measure back, and set a straightedge.
You won’t need to hold the blade guard back to check on the cut line.
Pro Tip: You can make this straighedge jig do double duty for you. Cut the top 2″ wide board straight so you have the factory edge one side and and equally straight edge on the other side. Then you can run a jig saw or a router along that reverse side of the guide to cut the base. Now you have a guide for your circular saw and for either your jig saw or router.
And, while you’re at it, make another shorter version of the jig: 50″ is a perfect length for cross cuts.
Using A Track Saw
An alternative to this foolproof jig is to use use a track saw.
Pros of Using A Track Saw:
- You don’t have to worry about using any clamps with the track guide
- A track saw is even simpler to use than a circular saw with this DIY jig
- You’ll get a better, cleaner cut than you will get with a standard skill saw.
Cons of Using a Track Saw:
- Good track saws are expensive.
Recommended Models:
If you want to own a track saw, these are the two models I can wholeheartedly recommend.
- The Festool Track Saw is the best track saw I know. The track is machined perfectly and it can hold up to a rough job-site environment. The saw has a built-in laser to help you align the saw perfectly every time. The depth control of this power tool is incredibly accurate and easy to adjust. The saw includes a riving knife to reduce the risk of kickbacks.
- Overall, it’s really the best track saw tool on the market. The Festool saw is a professional grade tool and it’s priced accordingly.
- A great choice for lighter weight projects or occasional use, is the 6-1/2-Inch Dewalt Track Saw. It’s also a very accurate saw with no noticeable blade wobble. The Dewalt doesn’t give you the depth of cut you might need for working with framing lumber. These tools are at their best when you need to cut sheet goods, plywood, OSB or MDF.
You can’t go wrong either way. Each of these two track saws will serve you well.
Projects You Might like
- How To Install Wainscoting. A great weekend trim carpentry project
Good luck with ripping those perfectly straight lines from now on!


Thanks for this guide. Would you say this is also applicable for sawing drywall?
Don’t cut drywall with a circular saw. That will create a ginormous amount of dust.