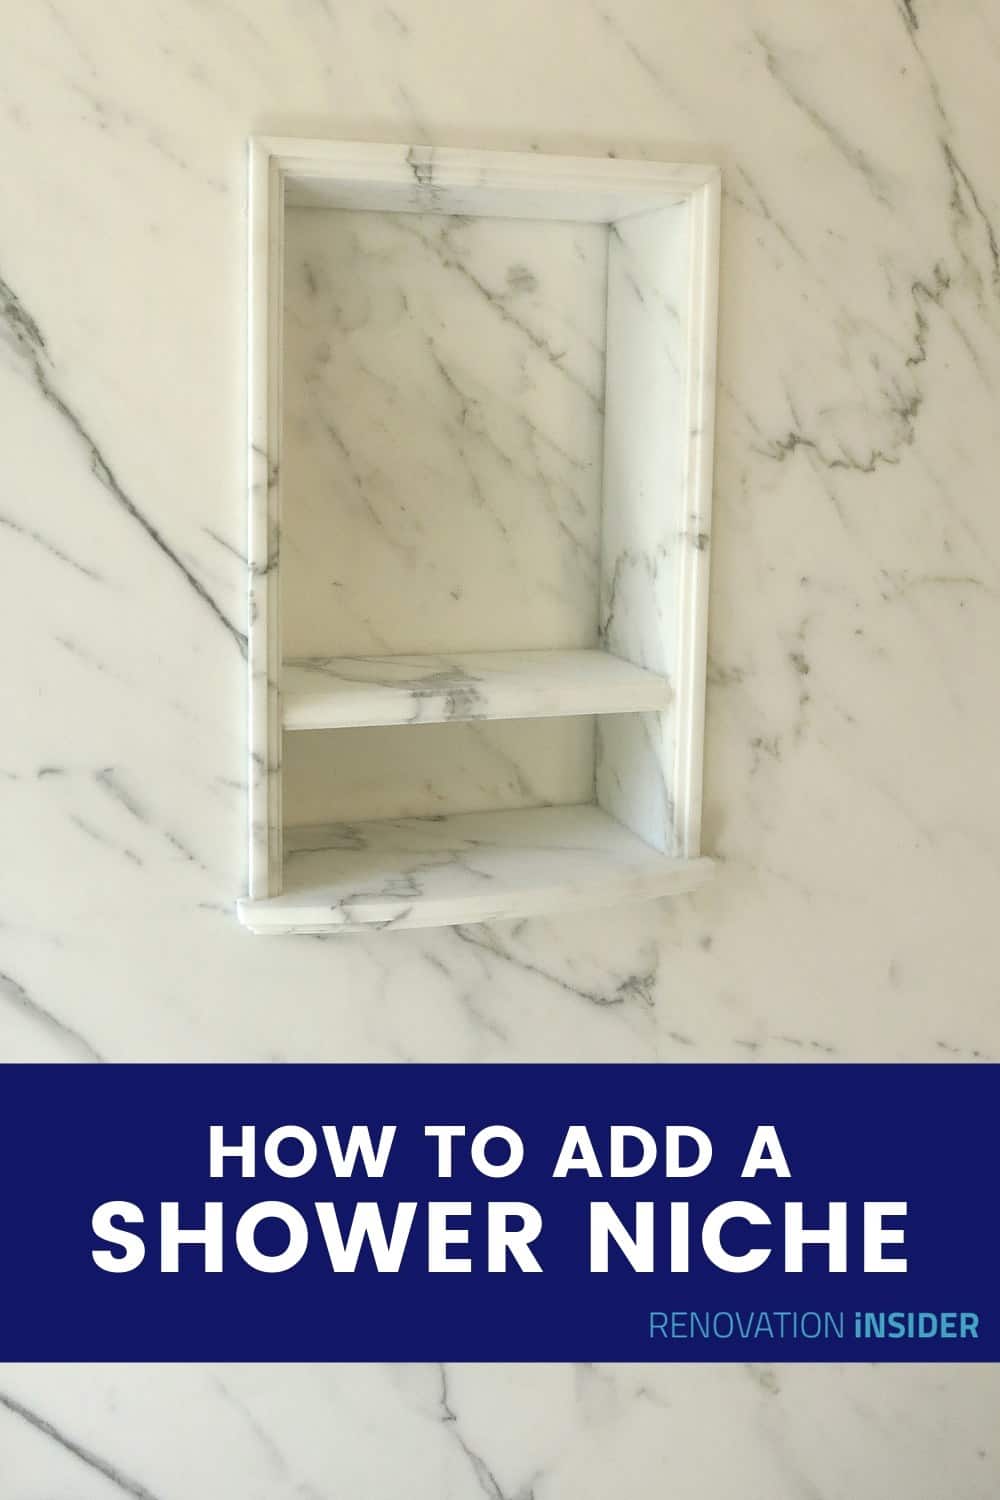
5 Easy Steps To Add A Shower Niche (Easy DIY)
If you’ve used a shower that has a niche, I think you’ll agree that a shower niche is one of the most convenient features of any shower.
Why? Because it’s a great way to reduce unsightly bathroom clutter while keeping everything close to hand and neatly arranged. Arguably, it’s even a safety feature! Shower floors and bathtubs can get slippery. Who wants to have to reach down to retrieve the conditioner or the cap from the shampoo bottle?
The problem is, if your bathroom is completely finished, making a shower niche seems like a daunting task.
But if you break it down into these 5 steps, I think you’ll enjoy your new improved shower!
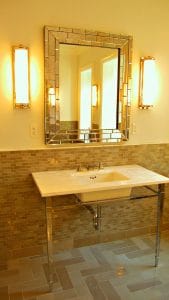
And upgrades like a shower niche are one of the simple ways to add character to your home. Wainscoting is a beautiful detail in a bathroom. And it’s another simple project you can tackle yourself without breaking the bank.
Step 1 – Choose the Size and Style
Choose the size, style and location of your shower niche. When you are choosing the size, consider these three things to help make sure you get the perfect size for your bathroom.
What size will line up best with the grout lines of your wall tile? Bathrooms have hard surfaces and hard geometric forms made with the tile joints, mirror edges and counter-top stone just to mention a few. So you want your niche to fit neatly into those geometric lines.
Let’s say that you have 4″x4″ tile on your walls. In that case a niche that’s 12″ wide by 12″, 16″ or 20″ high will be perfect: your niche will be three tiles wide and five tiles high. And if you have 6”x6” tile installed a 12″x20″ niche could still be made to work.
If you keep the bottom lined up with a tile joint, you’ll have a 2″ tile on top. Although you could center the niche so that you have a 1″ tile at both the top and bottom, that would be harder to do because small pieces of tile 1″ wide and 6″ long are fragile.
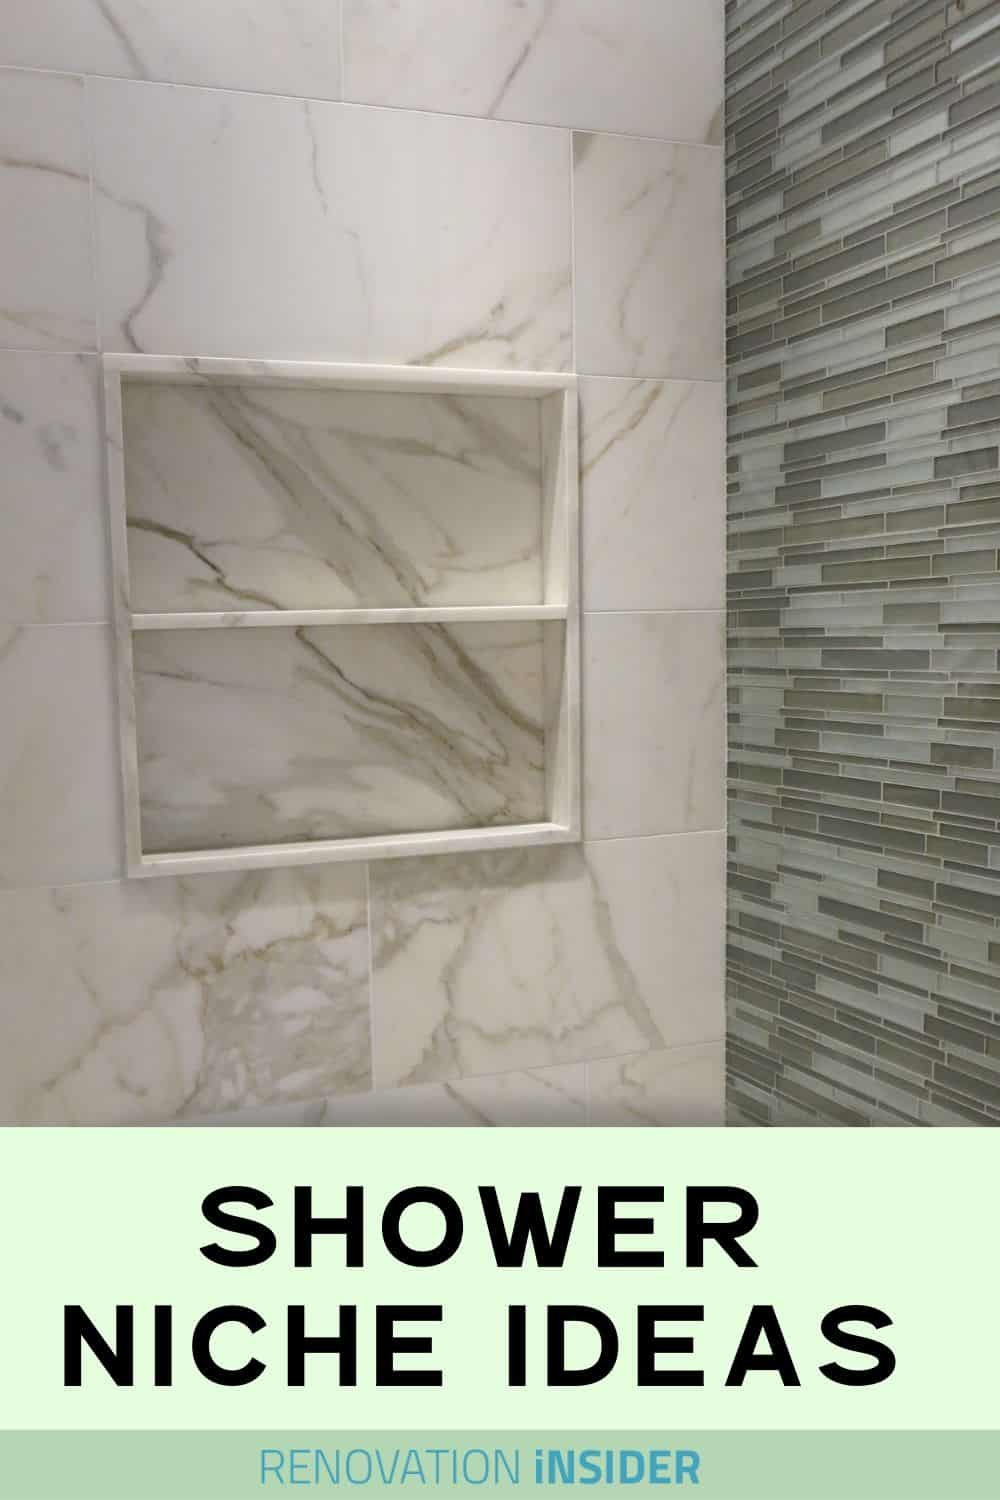
Measure your tile size and try to find a niche that suits the tile dimensions. Most standard shower niches have either one or two compartments. It’s a handy way of doubling up on the space.

Types Of Shower Niche
Ready-made bathroom recessed shower niche are made of plastic, steel or of the material used to make shower walls. The Schluter shampoo toiletry storage is made from their proprietary tile base material.
This material is engineered to help make sure the thinset tile adhesive will adhere really well.
![]() If you have a choice, place the niche where it won’t get much splash-water. Place it on the wall opposite the shower head. If that look won’t work for you, center your shower niche on the long wall of the tub.
If you have a choice, place the niche where it won’t get much splash-water. Place it on the wall opposite the shower head. If that look won’t work for you, center your shower niche on the long wall of the tub.
Don’t try to put the shower niche into the same wall as the one with shower head on it because you’ll almost certainly run into plumbing issues in that wall.
Step 2 – Prep The Wall for the Shower Niche
Cut an opening into the wall and install blocking. First, use a grout saw to cut away the grout between the tile that has to be removed and the tile that will remain on the wall. Then use a  ” target=”_blank” rel=”nofollow noopener noreferrer”>multimaster tool tool to cut through the tile substrate. If you can, remove the substrate with the tile still on it.

But, that’s not the only method to make the opening. You can remove tiles one by one. And especially if you have large tiles (12″ X 12″ for instance), the best way is to break one of the tiles and remove it in pieces. Use a pointed tool such as an ice-pick, drive it into the center of the tile with a hammer. That will fracture that tile into smaller pieces for easier removal. Once the first tile is out, you’ll be able to get a hard putty knife or an old chisel under the other tiles and separate them from the wall.
Once that’s done, install blocking around the opening the same size as the niche. For this all you need is lumber that will give you good solid material to screw the niche into.
Step 3 – Install the Shower Niche
Now you’re ready to install the niche. Align the niche with your tile joints even if the joints are a little off level. Let the grout lines be your guide.
Pro Tip. Although the niche itself is water tight, it’s always a good idea to use a bead of silicone caulk all around the edge and over each screw head.
Step 4 – Upgrade (optional)
Install the tile on top of the shower niche material. If you don’t have any of the original tile material, go ahead and choose a tile that works for you. And think about any outside corners. For those you might need a tile with a finished edge. That can be a bullnose tile or just a square edge tile that has a finished edge. If you decide to use a marble tile, you can polish the cut edges of the stone. It takes time but it’s well worth the effort.
There’s also an opportunity to upgrade AND save yourself work at the same time!
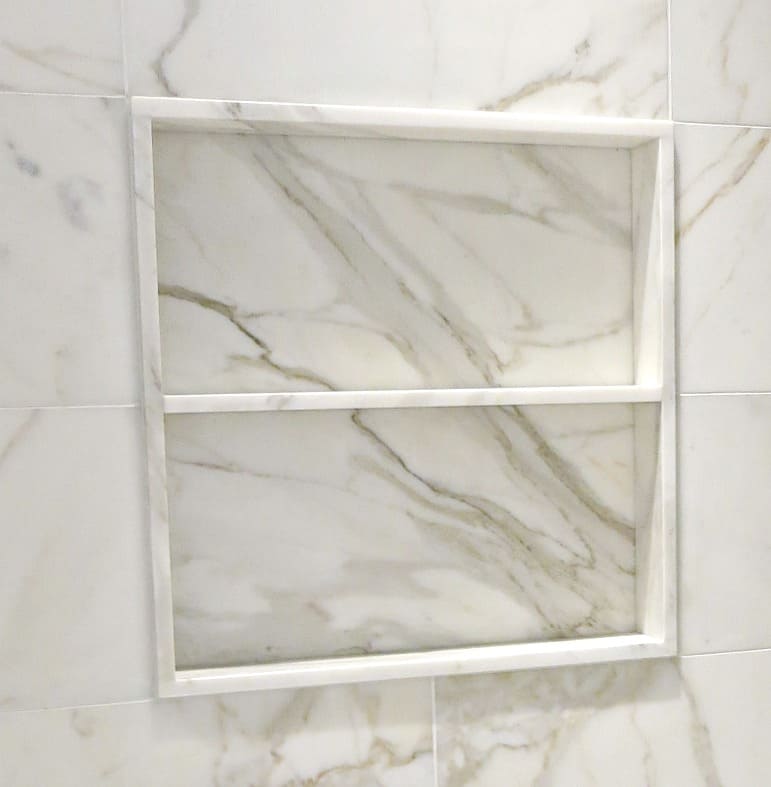
Pick up some marble such as this Greeecian White Stone pieces and use them to line the top, bottom and sides of your niche. And also pick up a few 12”x12” marble tile for the back wall of the niche. There will be less cutting involved than working with individual pieces of tile and you avoid having to deal with bullnose tile.
For about $75 you can have a marble-lined shower niche!
You might find that cutting and fitting the marble is easier AND gives the look that only stone can give. To make your niche really stand out, cut the marble so that it sits out beyond the tiled wall by a ¼” to ½”.
With stone, you also have an easier caulking or grouting job.
Pro Tip: Want to avoid having water collect inside the shelves of your shower niche? Set the tile (or stone) slightly towards the front so water will run off the surface.
Step 5 – Decoration
Arrange your shower essentials, eliminate bathroom clutter, and enjoy your new shower!
And here’s the ultimate in time-saving shower niche installation.
If a white color scheme works for you, a ceramic niche like this one is a great option. It’s already completely finished so no tile work is involved.

Open the wall where you want to install this and slip it into place.
Then use silicone caulk to glue the ceramic in place and to prevent any water getting in around it. This is a completely waterproof shower niche and so the only water protection you need to do is around the perimeter. Use some tape to help secure the niche in place while the silicone sets up.
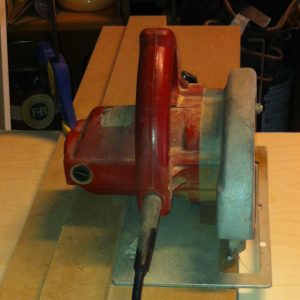
![]() You may need to cut the existing tile with a grinder to get the right opening size. You don’t have to achieve perfectly straight lines when you cut because this is an overlay niche – it will cover the cut edges.
You may need to cut the existing tile with a grinder to get the right opening size. You don’t have to achieve perfectly straight lines when you cut because this is an overlay niche – it will cover the cut edges.
Using a grinder to cut tile is dusty work. If you need to know more about dust control, check out this great post on how to contain dust.
Enjoyed our post about upgrading to a shower niche? Then you might also enjoy our post on wainscoting because this is another easy DIY detail that can add character and elegance to your bathroom.